Building Your Own Outdoor Shed: A Step-by-Step Guide.

Building Your Own Outdoor Shed: A Step-by-Step Guide
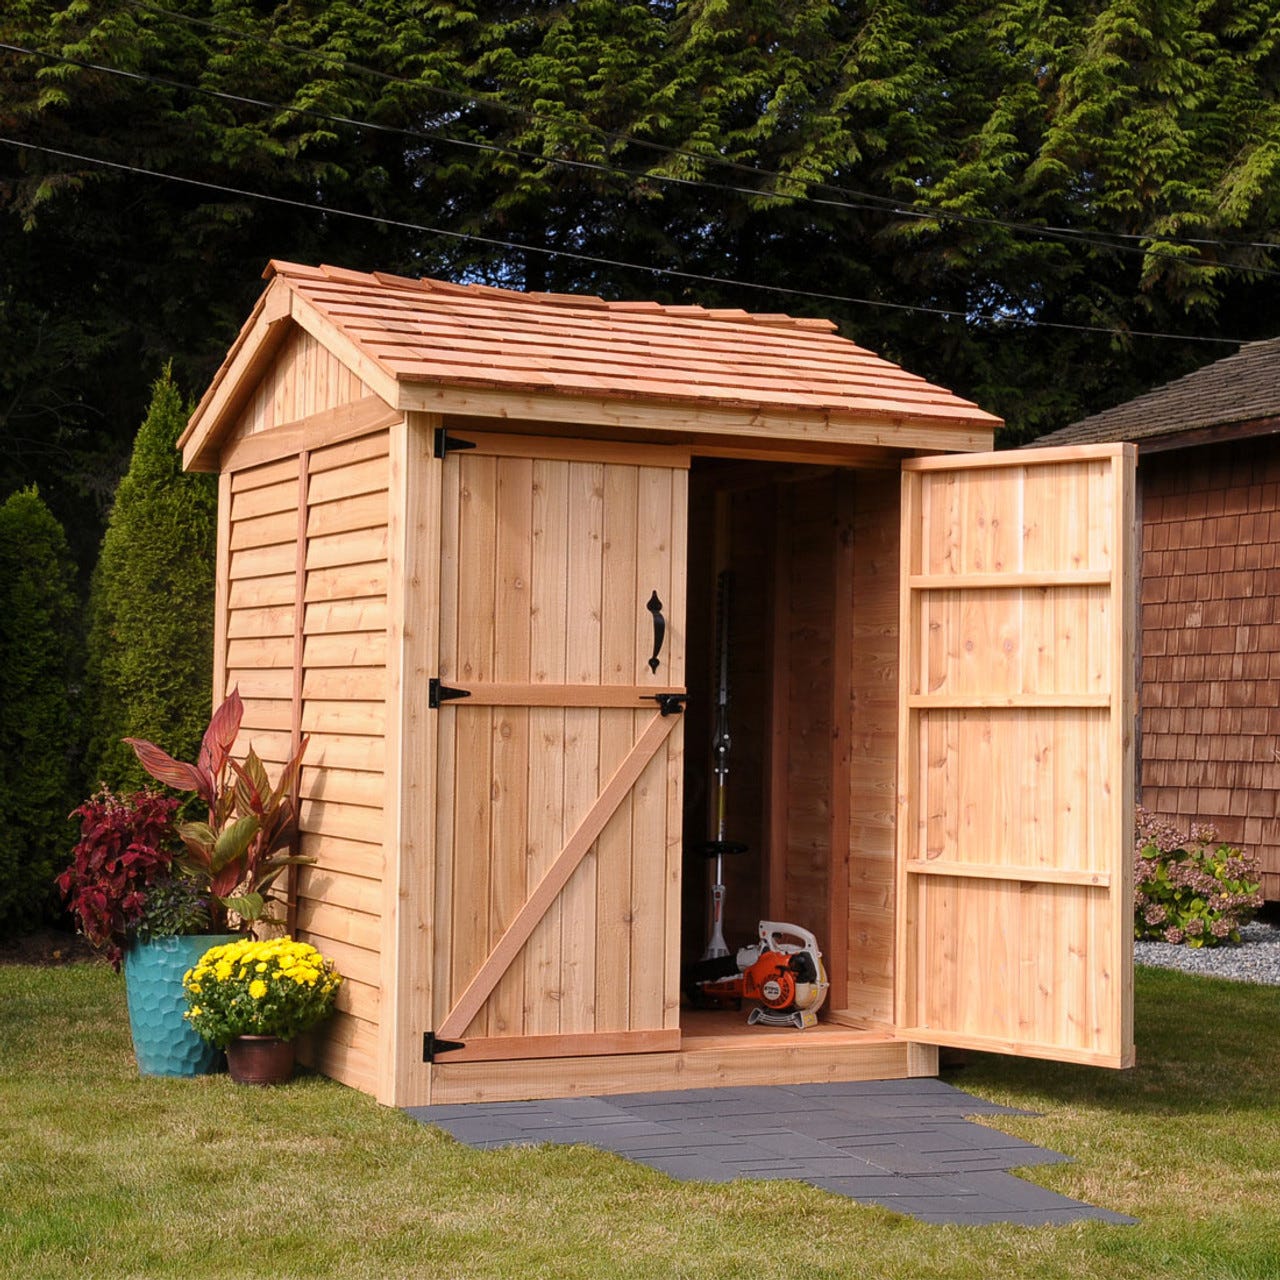
Are you in need of extra storage space for your outdoor equipment, tools, or gardening supplies? Building your own outdoor shed can be a rewarding project that not only adds functionality to your property but also allows you to customize it to your exact needs. Follow this step-by-step guide, complete with images, to construct your own outdoor shed.
Step 1: Planning and Preparation
Before you begin construction, carefully plan out your shed's design, size, and location. Consider factors such as the available space, local building codes, and your storage requirements. Once you have a clear plan in mind, gather all the necessary materials and tools for the project.
.
Step 2: Foundation
Start by preparing the shed's foundation. Depending on your preference and local regulations, you can choose from various options such as concrete slab, gravel, or skids. Ensure the foundation is level and properly compacted to provide a stable base for your shed
.
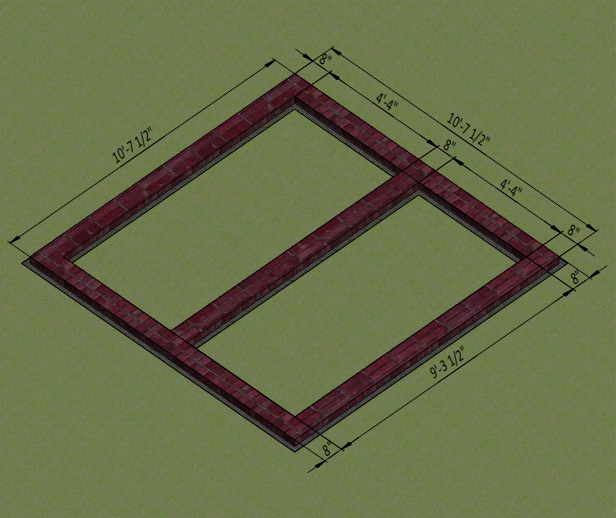
.There are several types of shed foundations that you can choose from, and it really depends on what space you need. We highly recommend building a concrete and brick foundation for your shed because of its stability:
Dig the footing trenches at least 1’ wide and 1’ deep.
Fill the trenches to ground level with concrete and allow some time for the concrete to harden.
Once the concrete has hardened, spread mortar and add your bricks.
Add a single layer of bricks on the top and continue to put mortar between them. Around 135 bricks should complete your foundation.
Make sure you have a foundation that measures 10’-7 ½” on each side.
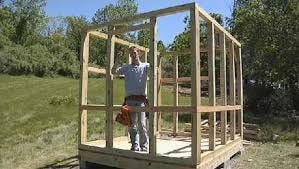
Step 3: Framing
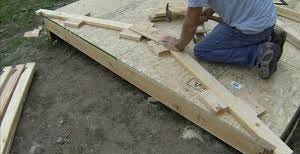
Your sheds floor will be made from rim and band joists. This will help to hold everything together.
Mark the 9’-10 ½” joists every 11 inches so that the floor’s plywood sheets will line up to the middle of the joists.
Secure the joists with 8×5″ Phillips wood screws.
Use a square to measure if corners are 90 degrees.
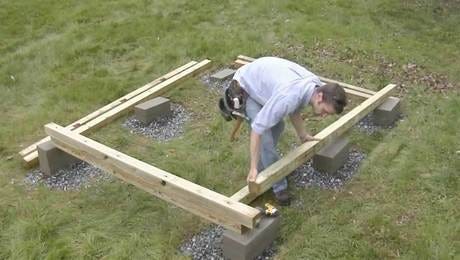
Once you have the frame constructed, you can install it on the foundation.
floor sheeting

Once your joist box is installed, it’s time to install the plywood for your shed’s floor. Before you install it, make sure the plywood’s wood grain runs perpendicular to the joists. This will maximize the floor’s strength.
By using 4″x8″ plywood sheets, cover your shed’s floor. Some of the sheets will need to be cut according to the diagram above to fit properly.
Fit the first sheet of plywood into a corner and make everything line up precisely.
Use 2-inch Phillips flat head wood screws to secure the plywood to the frame.
Add more rows of plywood to the frame, but offset them to keep the seams from lining up along the same joist each time.
You might also want to consider applying construction adhesive before you start securing the plywood. This can help to reduce any creaking in the future.
Frame the walls

Shed wall is very similar to floor framing. But instead of common joists and rim joists, walls have studs and top and bottom plates. You will have four top plates and four bottom plates. Half of them will be 10’ long, and the other half will be 9’-5”. Each plate should be 3 ½” wide.
Lay out the wall studs the same way you did when you framed the floor.
Use Phillips flat head wood screws to frame the walls. The 2x4s should be connected using two screws at each intersection.
Of course, your shed’s walls will not all be the same. Some of them may have windows or doors, so you’ll want to follow your shed plan carefully to make sure you use the right materials with the correct measurements. The height of the shed will be 6’-11”, but depending on your design, you will also be using shorter boards for framing windows and doors in the walls.
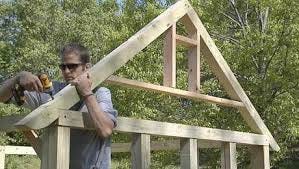
Step 4: Roof Construction
Once the walls are in place, it's time to construct the roof. Install roof trusses or rafters according to your shed's design specifications. Ensure they are securely attached to the walls and properly aligned before adding the roof sheathing.
Assemble the roof frame

A shed roof is an important part when learning how to build a shed.
Assemble the top beams for your shed using 10’ pressure-treated lumber. The size of your boards will vary based on the size of the shed you’re building.
Once you have the beams, connect them with flat head Phillips wood screws.
Use either 2×4 or 2×6 to build your rafters, and your choice may depend on the snow load you expect each year.
Cut the rafters, collar ties, and ridge board according to the directions. You will need 18 rafters that measure 6’-11” long. They should be spaced 1’-1 ¼” apart, just like in the above diagram.
Once you get the roof frame assembled and installed, you may want to go back and add hurricane ties, which can offer more security.
Step 5: Siding and Exterior Finishing
With the roof in place, focus on adding siding to the exterior walls of your shed. You can choose from a variety of materials such as wood, vinyl, or metal siding based on your preference and budget. Install doors, windows, and any other exterior finishing touches to complete the look.
Attach exterior siding to the side walls

Now it’s time to add siding to your shed. T1-11 is extremely functional, and it’s also cheap, which makes it a popular option for sheds.
Use 1×3 pressure-treated lumber to cut and install the wall trims. You will need two boards cut to 5′-10 3/4″, two boards cut to 8′- 1/2″, and one cut to 10′.
Prepare and install starter course 9′-5″ long from the pressure-treated lumber with cross-section 1/4″ x 3/4″.
Install the exterior siding using 1/2 “ x 6” siding boards as illustrated below.
Use 2×3 pressure-treated lumber for the window trim. You will need two boards cut to 3′-9″ and two boards cut to 3′-4″.
Be sure to provide openings for windows and ventilation, as shown in the drawing.
Cover your roof frame with plywood

This step is relatively easy. You will need ladders, plywood, a hammer, and some wood screws.
Cut sheets of 9/16” plywood for the roof sheathing. You will need four 4′ x 6′-11″ sheets and two 2′-5 3/4″ x 6′-11″ sheets.
Secure the plywood with 2″ flat head wood Phillips screws.
Take all safety precautions while working with the roof.
Install asphalt shingles on the shed roof

Asphalt roof shingles are a great option for your shed’s roof. It’s not expensive, and it’s also easy to install. For this step, you will need 150 Sq Ft of asphalt shingle roofing.
Install the drip cap along the end edges of the roof using aluminum roofing nails. If your shed has a lean-to roof, start at the bottom and work your way up.
Staple roofing paper onto the plywood on the roof. This will help to prevent excessive moisture from ruining the wood and keep it from rotting. Adding parallel lines to the roofing paper can help you keep your shingles straight.
Install your shingles according to the instructions on the packaging. Make sure you stagger the rows to keep water from penetrating the shingles over time.
Your roof should measure 6’-11 ½” x 10’-5 ¾” on each side when you are finished.
Assemble the windows

You can install your windows directly to the wall framing or on top of the siding. You will need to add the trim in either case.
Assemble the outer frame for the window by using 2×3 pressure-treated lumber. You will need two boards cut to 3′-1″ that will be the vertical pieces, and two boards cut to 3′-4″ that will be the horizontal pieces. Additionally, add vertical 2′-11 1/2″ long and horizontal 3′-1″ long supports using 3/4“ x 1“ lumber and cut out the recesses for the window hinges.
Use 2×2 pressure-treated material to make the inner frame and secure with 3” flat head wood screws. You will need two boards cut to 2′-9 3/4″ that will be the vertical lengths and two boards cut to 3′-3/4″ that will be the horizontal lengths. Mill a recess for the glass panes and the hinges.
Use 2×2 pressure-treated material to make the inner frame supports and secure with 3” flat head wood screws. You will need two boards cut to 2′-9 3/4″ and mill a recess for interconnection.
Prepare and install glass into the inner frame groove and fasten it by window beading on all four sides. Use 1/2″ galvanized nails.
Install two hinges (3″) with 6x 1″ wood screws and assemble the window.
This is usually a pretty quick and easy process. Once you have it built, you will line up the door’s opening with the trim and hang the door on three heavy-duty hinges. Your door should have a handle and a lock installed on the opposite side.
Build the doors

Door assembly might take some time, but it’s cheaper than buying a premade at the hardware store.
Build the door frames for the shed using 2×4 pressure-treated lumber and secure with 5” wood screws. You will need two boards cut to 5′-11 3/4″ that will be the vertical pieces and two boards cut to 2′-3/4″ that will be the horizontal trim pieces.
Prepare the 9/16″ plywood sheet with dimensions 2′-7 3/4″ x 5′-11 3/4″ for the doors.
Use 1×3 pressure-treated lumber for the door trim and fasten with 2” wood screws. You will need 2 pcs cut to 2′-2 3/4″ and 2 pcs to 5′-11 3/4″.
Using 1/4 “ x 3/4 “ pressure-treated lumber, cut and install the first courser 2′-2 3/4″ long.
For the exterior siding on the door, use 1/2 “ x 6” wood siding boards and the drawing below as a guide.
Assemble siding shields with 2″ galvanized nails.
Install a ventilation system

Your shed should have a proper ventilation system to keep it cool and dry.
Install your louver gable vent in the proper opening, which should measure 1’-4”. Use flat head wood screws to secure it in place.
.
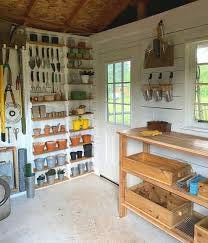
Step 6: Interior Finishing
After completing the exterior, turn your attention to the interior of the shed. Add insulation if desired, and then install shelves, hooks, and other storage solutions to maximize the space and organization inside your shed.
.
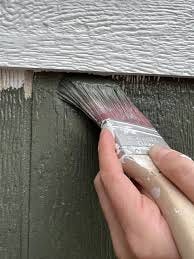
Step 7: Painting and Sealing
To protect your shed from the elements and enhance its appearance, apply a coat of exterior paint or stain. Choose a color that complements your home and landscape. Additionally, seal any gaps or cracks to prevent water infiltration and ensure the longevity of your shed.
.
Step 8: Final Touches
Finally, add any final touches such as landscaping around the shed, installing gutters for proper drainage, and adding lighting for safety and convenience. Stand back and admire your handiwork – you've successfully built your own outdoor shed!
Building your own outdoor shed can be easy but if you are confused with this written step by step guide watch or step by step video presentation on how to easily build an outdoor shed by clicking here